
Page 18 - PP8inst
P. 18
Capturing Images 14
Capturing Images
Using PP8 is really quite easy once
the hardware has been set up. Program
use is reduced to three main compo-
nents; Capture, Analyze and Print or
Store.
NOTE: Make sure your tripod has a
bubble level either built-in or placed on
it to ensure that the camera is level. You
can also simply hold a bubble level on
top of the camera if you don't want to use
a tripod.
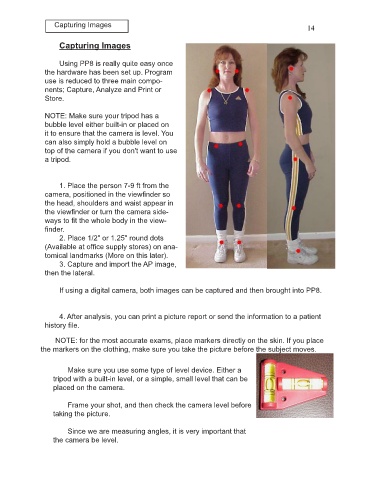
1. Place the person 7-9 ft from the
camera, positioned in the viewfinder so
the head, shoulders and waist appear in
the viewfinder or turn the camera side-
ways to fit the whole body in the view-
finder.
2. Place 1/2" or 1.25" round dots
(Available at office supply stores) on ana-
tomical landmarks (More on this later).
3. Capture and import the AP image,
then the lateral.
If using a digital camera, both images can be captured and then brought into PP8.
4. After analysis, you can print a picture report or send the information to a patient
history file.
NOTE: for the most accurate exams, place markers directly on the skin. If you place
the markers on the clothing, make sure you take the picture before the subject moves.
Make sure you use some type of level device. Either a
tripod with a built-in level, or a simple, small level that can be
placed on the camera.
Frame your shot, and then check the camera level before
taking the picture.
Since we are measuring angles, it is very important that
the camera be level.